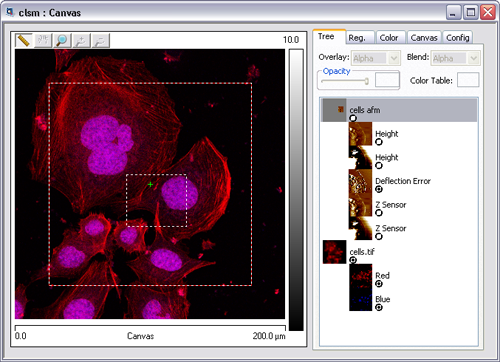
- Open MIRO.
- Obtain an optical image in MIRO:
MIRO lets you accurately position the probe tip over a selected spots to make multiple force curve measurements.
|
|
|
|
|
|
|
|
|
|
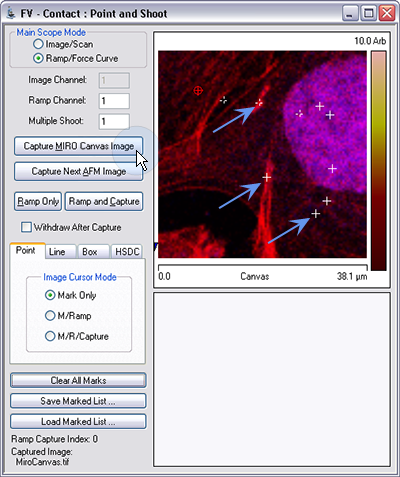
NOTE: This button may read "Set MIRO ROI for Capture" if no ROI is selected in the canvas. Click the button to go to the MIRO canvas, and, with the ruler selected, draw an ROI on the MIRO canvas.
|
|
|
|
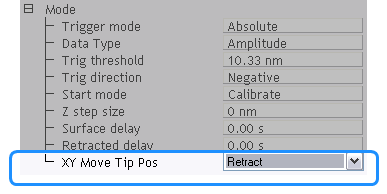
In the NanoScope Ramp view, three options are available for moving, in XY, from one point to another: |
|
 has been configured with an optimized default XY Move Tip Pos setting. You should not need to view or change this parameter except under exceptional circumstances.
| www.bruker.com | Bruker Corporation |
| www.brukerafmprobes.com | 112 Robin Hill Rd. |
| nanoscaleworld.bruker-axs.com/nanoscaleworld/ | Santa Barbara, CA 93117 |
| Customer Support: (800) 873-9750 | |
| Copyright 2010, 2011. All Rights Reserved. |
 Point and Shoot Controls and Parameters
 Related Topics